If you're hoping to sell your C-arm system, the best way to get a better deal is to demonstrate the condition of the system quickly and clearly. While buyers certainly value a C-arm that is in good shape, they also value a buying process that is simple and a seller who is communicative and transparent.
With these things in mind, we’ve established a process that’s so simple, anyone can do it! Get ready to take your first, easy step toward a better C-arm sale.
How to Demonstrate C-arm Image Quality
Below is an example of one of the best C-arm image-quality photo inspections we’ve ever received. Use it as your guide while taking pictures of your own system.
1. Grab yourself a hi-resolution camera. If you have a smartphone made within the last 3-4 years, the onboard camera is probably more than sufficient.
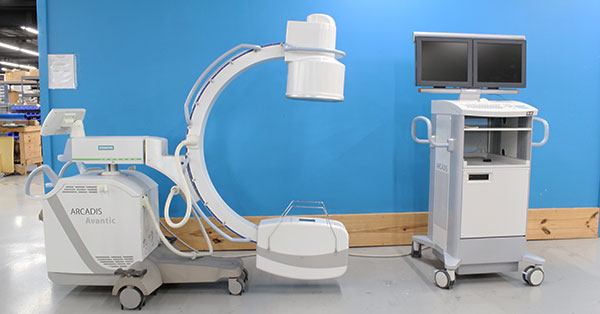
2. Using proper radiation safety protocols and PPE, shoot X-ray with your C-arm into an empty field set to “auto” with no magnification.
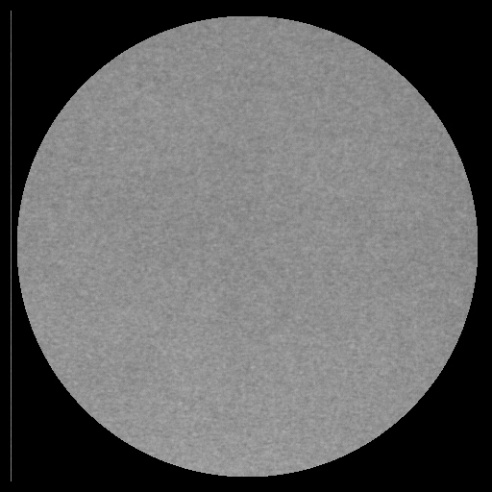
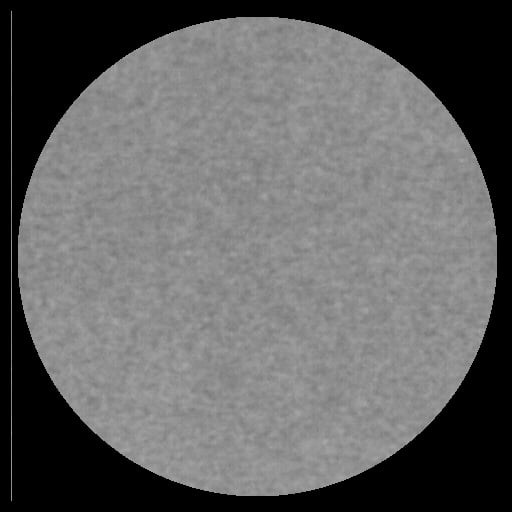
3. Snap a photo of the result, then repeat step 2 and photograph at magnification level 1, and magnification level 2.
 |
 |
|
||
| "Auto" normal | "Auto" magnification 1 | "Auto" magnification 2 |
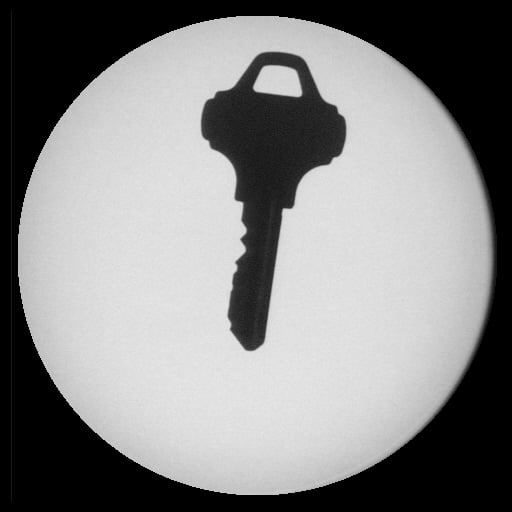
4. Repeat steps 2 and 3 with a phantom or metal object (like a key) in the image field:
 |
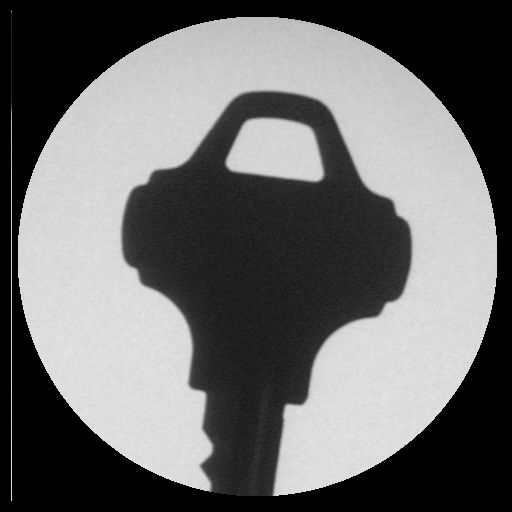 |
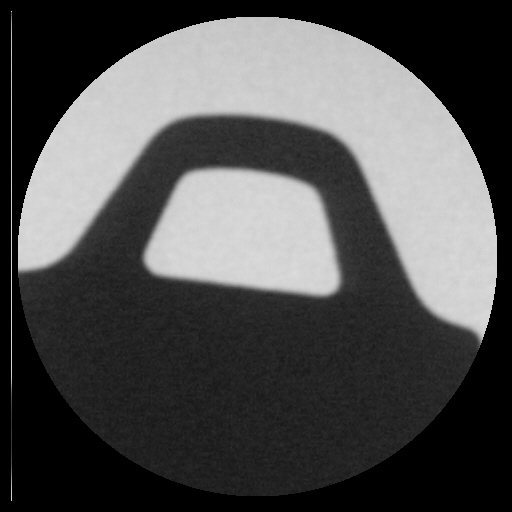 |
||
| Key normal | Key magnification 1 | Key magnification 2 |
5. Save your photos and use them in emails, messaging apps, or anywhere you communicate with prospective buyers.
The Takeaway
Completion of these steps will allow you to show a buyer the two most important things they want to know about your C-arm: that it works, and that the image quality matches your asking price. There are, of course, other details about your used C-arm that you will be asked to provide, but these are all secondary to functionality and image quality.
If you're looking for a place to start finding buyers, you've already found it! Block Imaging buys used C-arms. Go snap your photos, then tell us more with our "Sell Your Used C-arm" form. Our team would love to review your details and make you an offer.